Tired of your guitar's bell-like tone being muted or lacking the desired resonance? Many guitarists struggle to achieve that vibrant, clear bell tone, especially when using a traditional bridge setup. A simple, yet effective modification, the two-nut method, can drastically improve your guitar's bell-like resonance and overall tonal clarity, unlocking previously untapped sonic potential. This technique provides a remarkably easy and quick solution to a common problem, requiring minimal tools and expertise. It's a perfect upgrade for players seeking a brighter, more resonant sound without significant expense or complicated adjustments.
This straightforward modification involves strategically adding two nuts to your existing bridge setup. The following step-by-step guide will clearly demonstrate how to implement the two-nut method, providing detailed instructions and helpful illustrations along the way, ensuring a successful and rewarding experience. Let's get started!
Safety Guidelines
- Always disconnect the power supply to your bell transformer before starting any work. Failure to do so could result in electric shock.
- Use appropriately sized nuts and bolts to avoid stripping the threads or damaging the bell mechanism. Choose a size that provides a secure connection without excessive force.
- If you are uncomfortable working with electrical wiring or are unsure about any aspect of this modification, consult a qualified electrician.
Methods: Two Nut Method for Bell Mode Modification
Tools Needed
- Bell
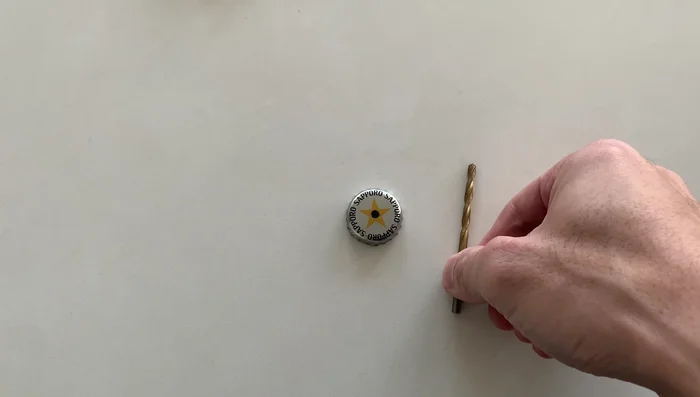
- 4mm drill bit
- M4 bolt
- Two nuts
- Valve washers (or normal washers)
Step-by-Step Instructions
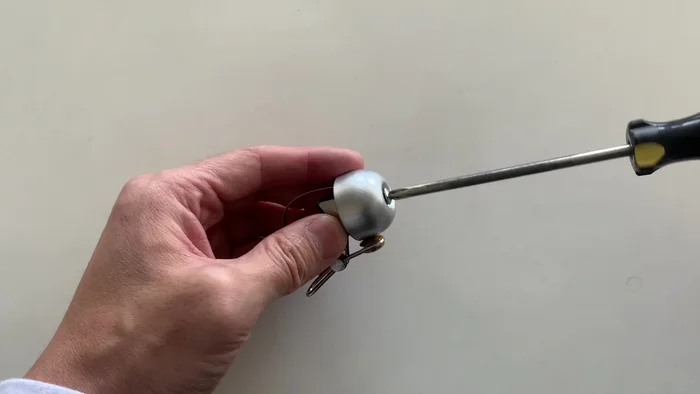
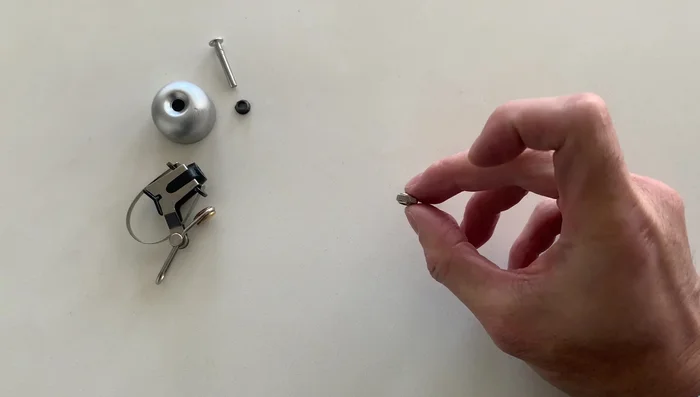
Disassemble the Bell
- Undo the screws (anti-clockwise) and remove the cap.
- Remove the small rubber piece (don't lose it).

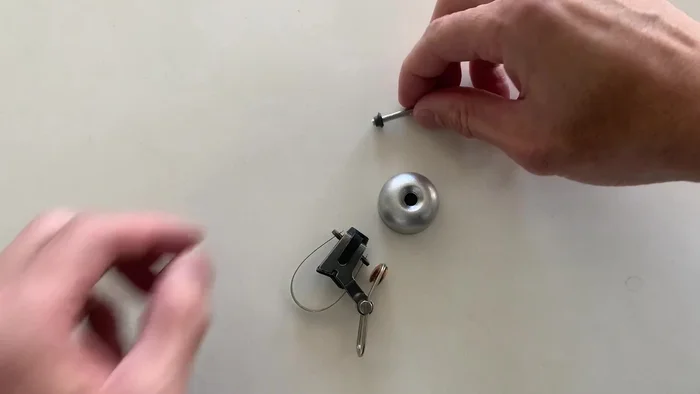
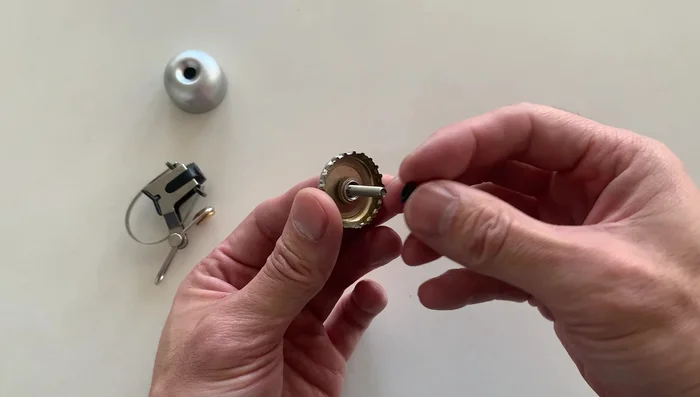
Disassemble the Bell Prepare the Replacement Cap
- Drill a hole in a cap using a 4mm drill bit.
Prepare the Replacement Cap Assemble the Two-Nut Mechanism
- Insert the M4 bolt through the cap.
- Add valve washers (or normal washers) as spacers on the bolt.
- Put the rubber spacer on the bolt.
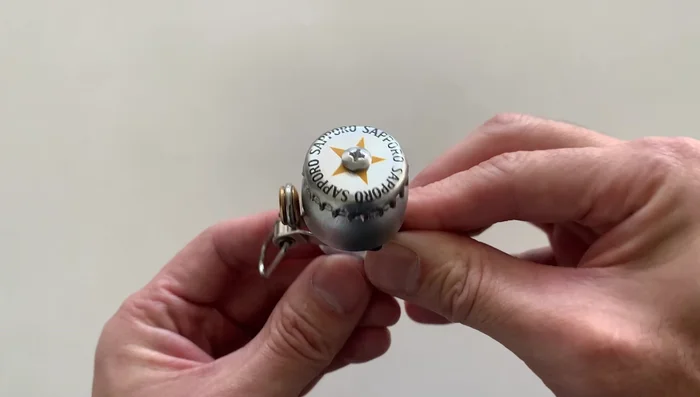
- Place the cap back on and screw on the nuts, ensuring they are tight.
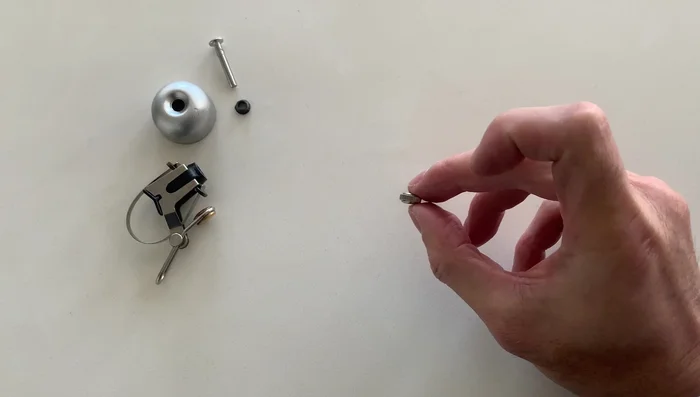
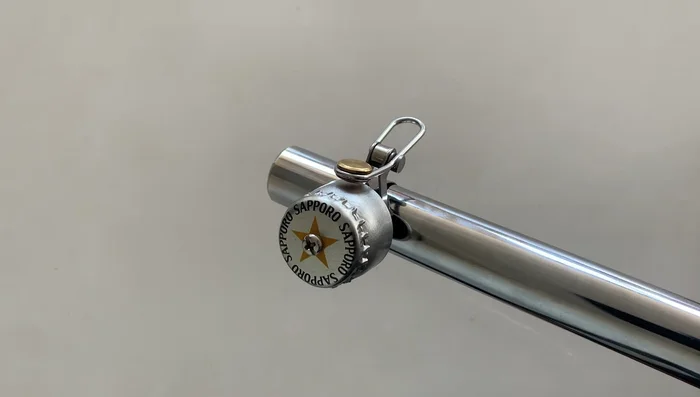
Assemble the Two-Nut Mechanism Final Check and Adjustment
- Check that the cap isn't touching the bell; add more spacers if needed.
Final Check and Adjustment
Tips
- Use valve washers or normal washers as spacers.
- Tighten the nuts securely to prevent movement.
- Ensure the cap doesn't touch the bell; add more spacers if necessary.